
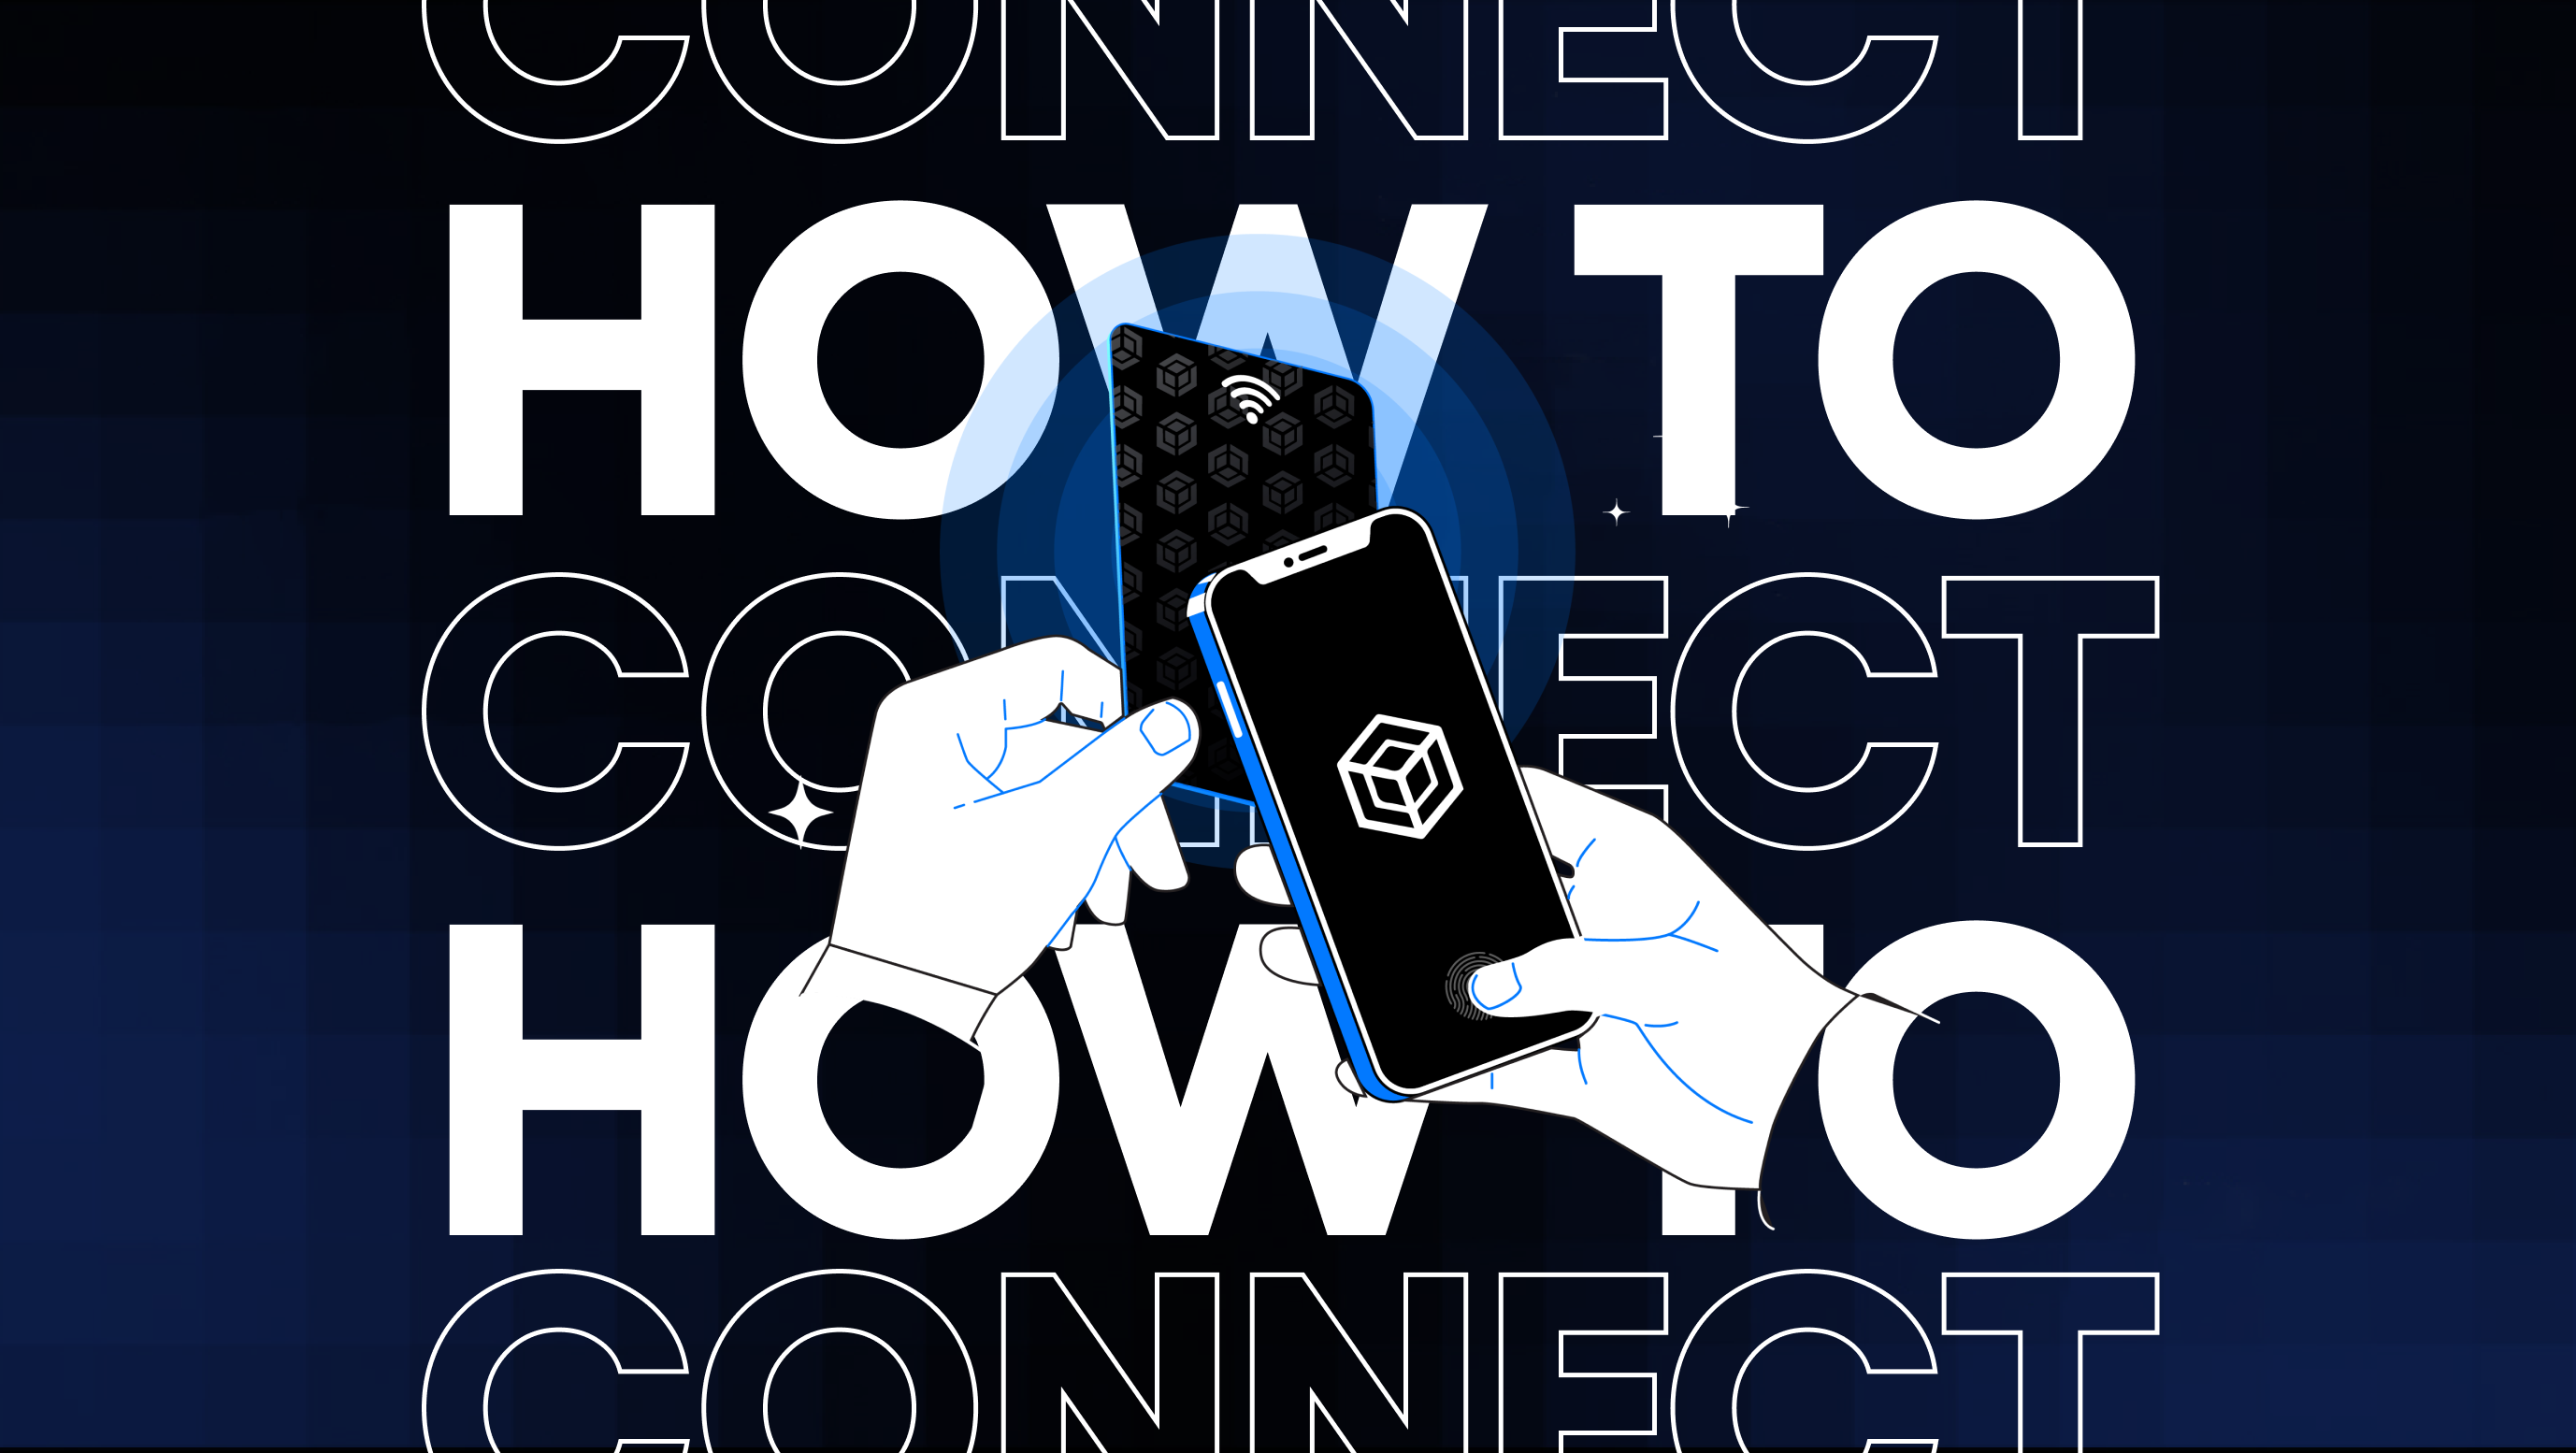
How to connect Xellar Card
Introducing the Xellar Card
Built from banking grade technology the Xellar Card is a Cold Wallet storage which abstracts your private key away from your phone, encrypting it with a user generated password.
The Xellar Card works with the Xellar App, which is available on the App Store and Play Store. Where you can store you both Bitcoin or EVM private
Benefits of using the Xellar Card
Typically a hot wallet or non-custodial wallet like MetaMask and TrustWallet is susceptible to hacks. Private keys on hot wallets often store the private key on the local storage of your phone or computer, and accesses this private key in the case of signing a transaction.
However, because the phone or computer is also connected to the internet and open to viruses, these devices can be targeted, giving access to bad actors.
This is why cold storage, or cold wallets are often recommended for security purposes as these wallets are not connected to the internet and work in conjunction with devices such as a hot wallet. Xellar Card works the same, by storing the private key in a banking grade physical card, ensuring that in the case that any hacks occur, the physical card is required to sign a transaction.
How to connect Xellar Card with a new wallet
Follow these instructions if you want to create a new wallet.
- On Home Page: press New Card
- A note will pop up saying you will need to create a new PIN for the Cold Wallet
- Input your selected PIN and confirm
- Hold it to the back of the Phone
- Your wallet is now connected!

How to connect Xellar Card with a pre-existing wallet
Choose your pre-existing wallet
- On Wallet Page: Click the 3 dotted icon on your selected wallet
- On the pop up, press the arrow
- Upgrade your card by pressing Connect
- Input your non-custodial wallet PIN

Next follow the instructions to set up your Xellar Card
- A note will pop up saying you will need to create a new PIN for the Cold Wallet
- Input your selected PIN and confirm
- Hold it to the back of the Phone
- Your wallet is now connected!

How to sign a transaction with Xellar Card
Signing a transaction with Xellar Card is simple, and developed to protect your cryptocurrency from malicious actors. With the Xellar Card you will need
- The Xellar Card
- Your PIN
- A Xellar App
To make a transaction, utilising what you have and what you know.
Follow these instructions to sign a transaction
- Select your wallet and inside that wallet Press Send
- Input the address of your recipient or select from your contacts
- Select how many tokens you want to send. Here you can choose various chains
- Review and confirm your transaction

After you have confirmed you transaction
- A prompt will pop up to sign your transaction with your card. Hold your Xellar Card to the back of the phone.
- Input your Cold Wallet PIN for this Xellar Card
- Sit back and relax as the transaction is sent to the blockchain
- Success! Your transfer has been completed

Support for Xellar Card
We at Xellar give 100% replacement Guarantee if the Xellar Card is not working, or has been destroyed.
To enquire more about the Xellar Card and the Xellar App, email us at [email protected] or connect with us on Instragram
The Xellar App is available on the App Store and Play Store. Download the App today!
What is Xellar?

Xellar is the next generation non-custodial application, integrated into the DeFi world. Download Xellar on the App Store & Play Store. Integrate with Xellar’s cold wallet technology.


